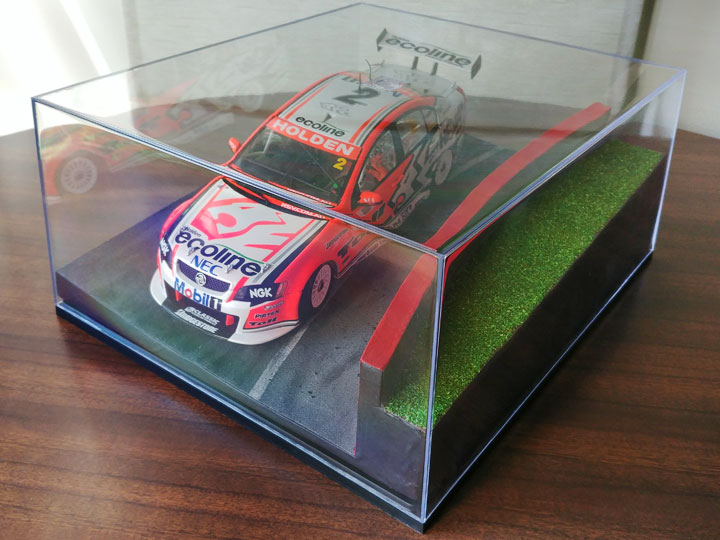
Bathurst Diorama - Model Car Display
A Mount Panorama Diorama! That has a nice ring to it.
My brother loves V8 Supercars and collecting model cars. He has quite a few of them now and has mentioned that if he had more space he'd love to have a diorama of a straight on a race track and have a bunch of them lined up on the grid or as though they were racing. At the time he also had a display case on his desk that could fit a couple of the model cars in it. While the diorama he had in mind is a bit of a future project for him, I thought I could make a mini diorama, and make it fit into a display case like the one he had so that it could sit on his desk.
I wanted to make the diorama a bit more dynamic that just a flat straight, so I took inspiration from a corner called "The Dipper" which is part of the downhill section of the Mount Panorama Circuit in Bathurst. It is a sharp left hand turn which has a sudden dip, hence the name. Bathurst is his favourite race track and one that I was able to visit with him on one of his pretty much annual trips there. It is quite a fun corner to drive around, even at a slow pace.
To start the base I grabbed some cardboard which already had a fold in it. This made for a nice clean edge on one side. I used a bunch of acute triangles spread out between the 2 layers to create the foundation of a slope.
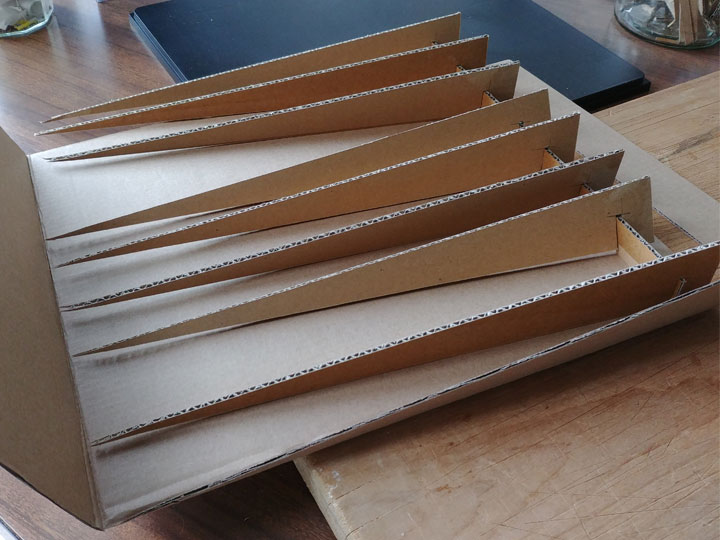
These were all hot glued in place. I added more cardboard so that all the gaps were closed up.
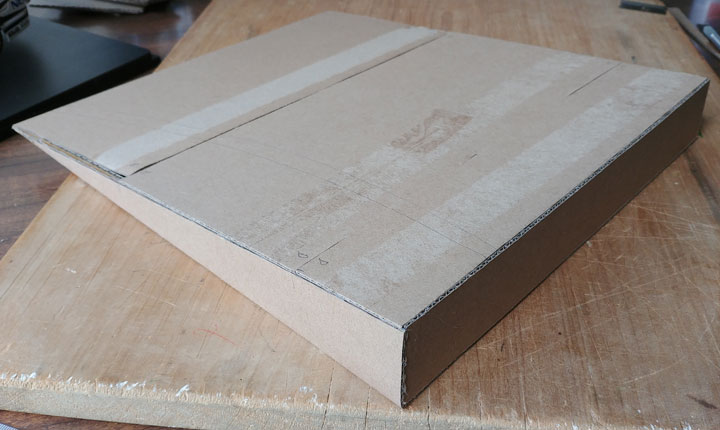
That was the dip part sorted, but it didn't quite bank like the real corner does, so I added a few more layers of cardboard to sculpt the base more how I wanted it.
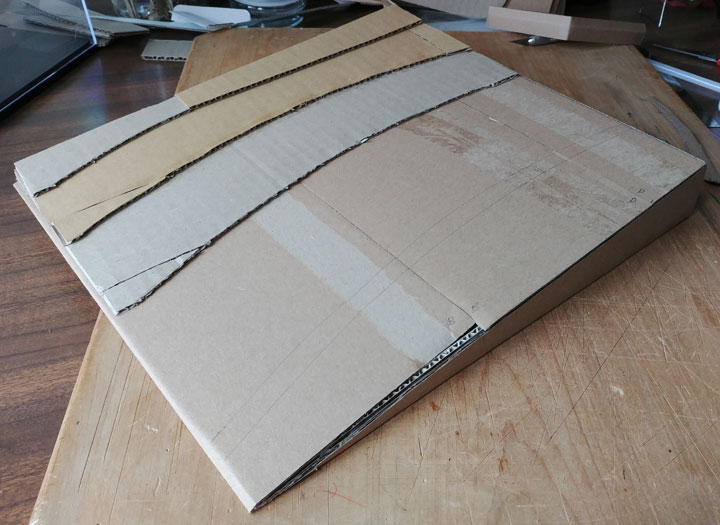
I covered this with another layer of cardboard to smooth off the layers and filled in the sides to tidy them up too.

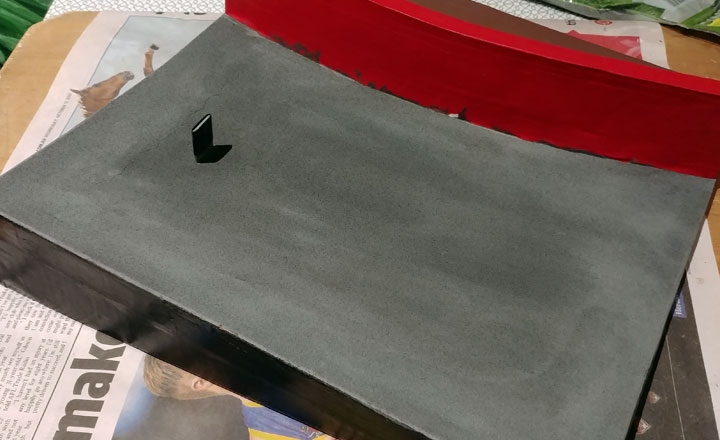
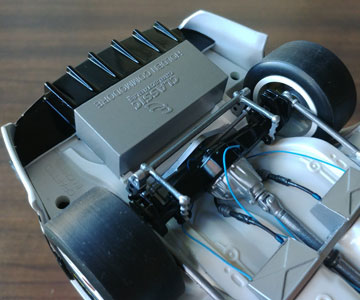 Seeing that I wanted the diorama to have an angle to it, I needed to work out a way to hold the car in place. The model cars have a bit of a block underneath, near the back, which I think is the fuel tank. Sometimes the simple solutions are the best, so I just used a right angle bracket attached to the base which hooks on the fuel tank and holds it in place. I cut out a space for where the bracket would go.
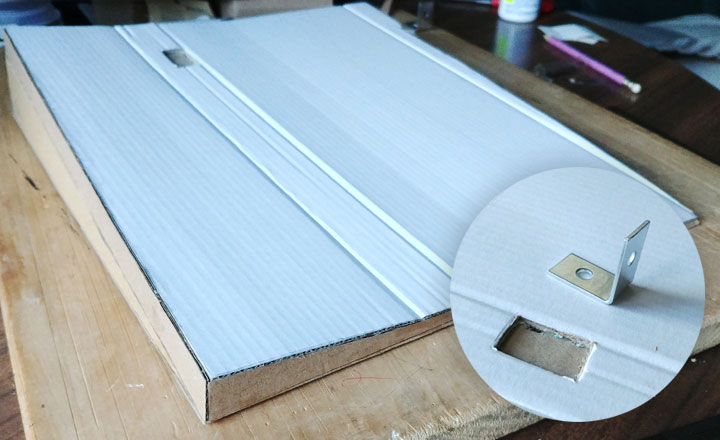
The next layer of cardboard was used to further smooth out the slope, as well as covering over the bracket to secure it in. I made a paper template for the curve of the wall, then marked where I wanted the wall to be and cut some slots which I could use as supports to hold up the wall.
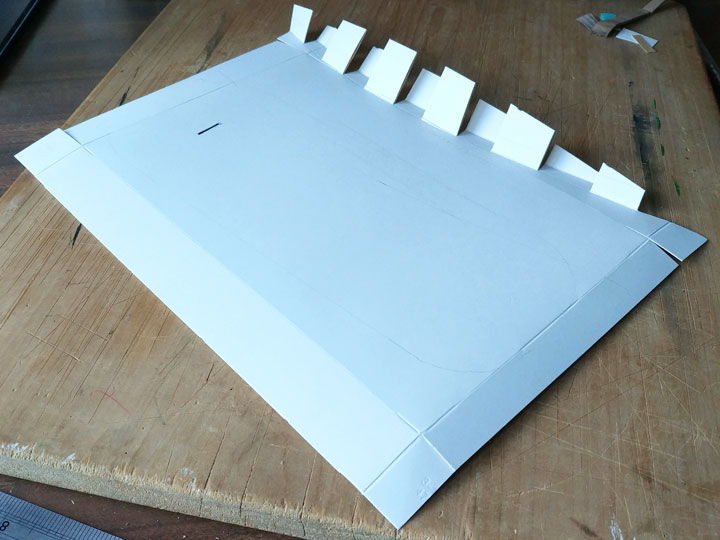
The slots went either side of the wall to lock it in place.
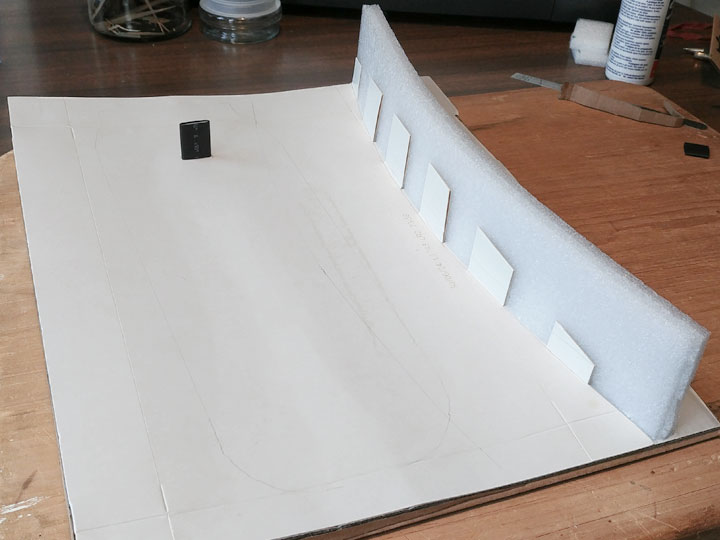
I covered the wall in cardboard to hide the slots and make a more solid structure for the wall. It also made it easier to cover with paper mache later.
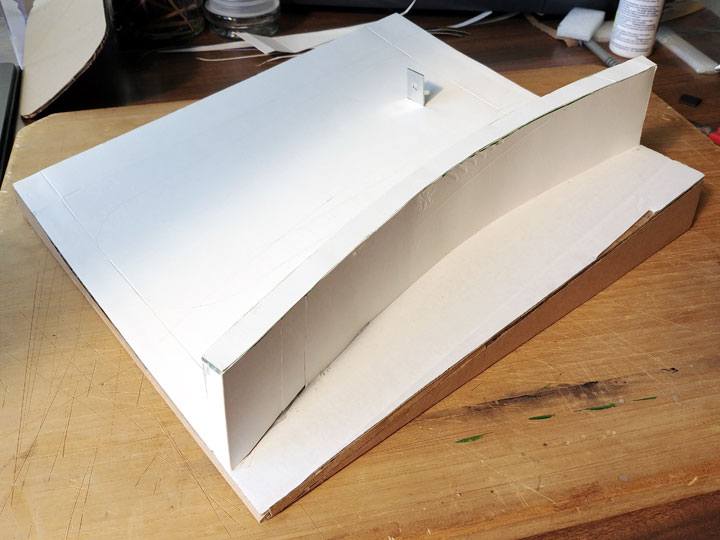
The wall at The Dipper is really a retaining wall as the track is built into a mountain, so I built out behind the wall which I will become the grass later on.
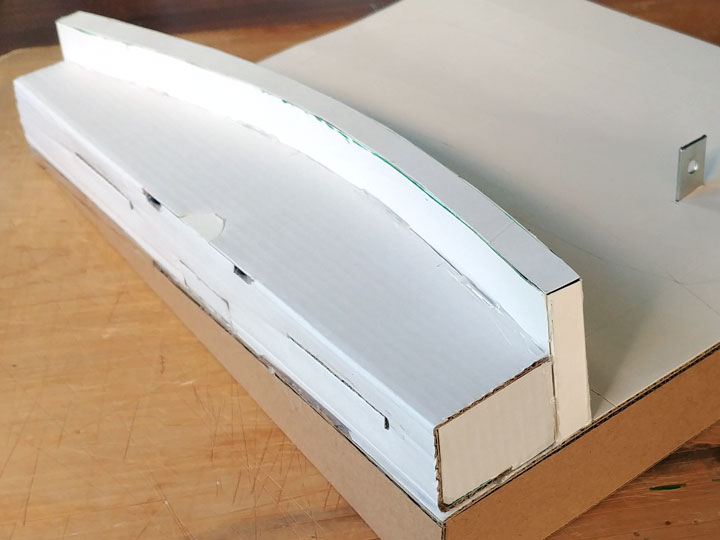
Next I covered the whole thing in paper mache, using newspaper and a mix of modelling glue and water. This was to cover up any gaps and make the base look like one solid piece.
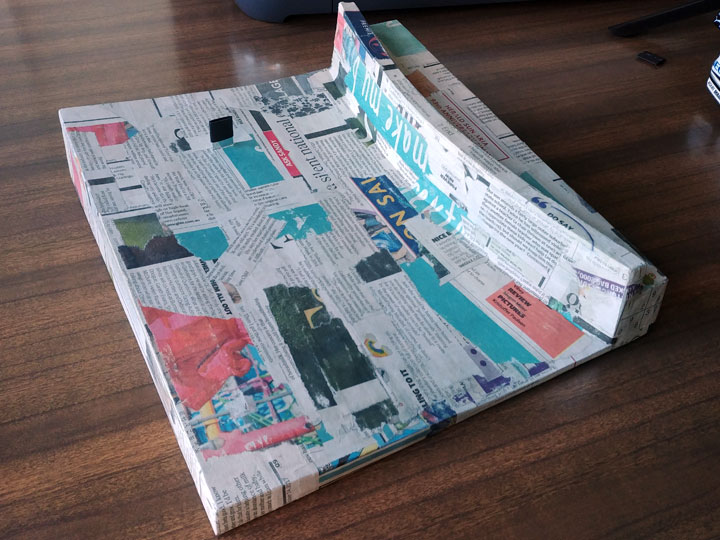
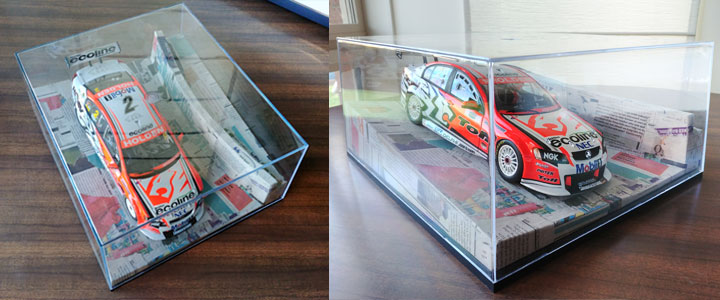
At this stage I did a test fit to make sure it would fit into the display case. I was very tight! I ended up sanding back some of the edges so it would come out easier. Adding so many layers of cardboard to the base almost meant the car didn't fit. I think the aerial just touches the roof of the case.
I took it outside and gave the whole thing a coat of black spray paint.
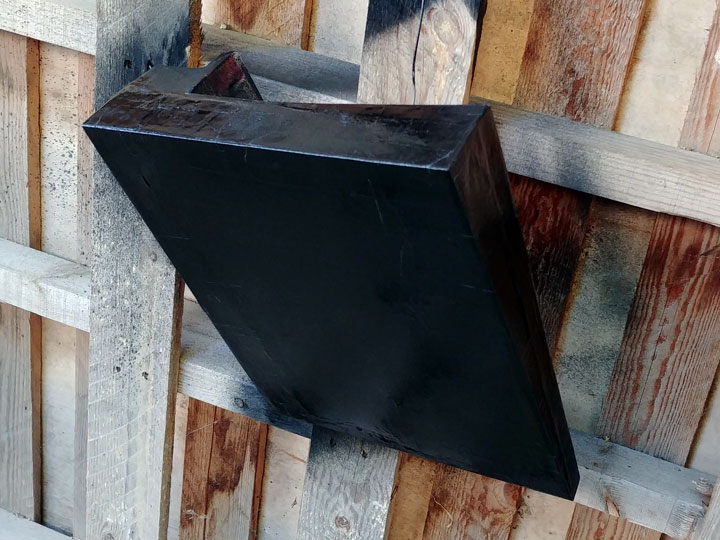
I then painted the base coats of the wall and the dirt.
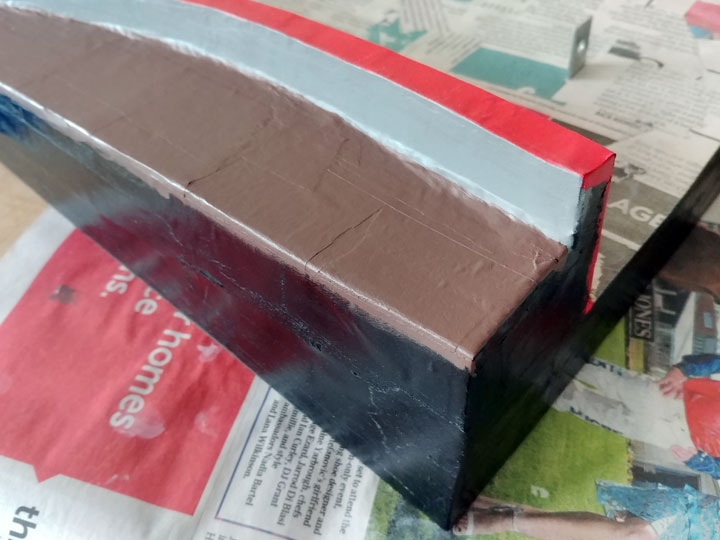
Now for the road. When I went to my local hobby store for supplies I was asking the guy at the shop for a few tips, and he suggested using sandpaper for the road. I was a bit apprehensive at first because I didn't want it to damage the tyres on the model car. I tried a few other textured surfaces such as glitter vinyl and cloth, but they just didn't look right. I ended up going with the sandpaper, but I put some black cloth under the tyres so they don't get scratched.
I ordered a pack of sandpaper online with various grits so I could work out which looked the best. Going for the most scale accurate sandpaper would have meant that the texture would be too small to see, so I went with one that had enough texture to create the road effect without being too big that it looks fake and too much like a model.
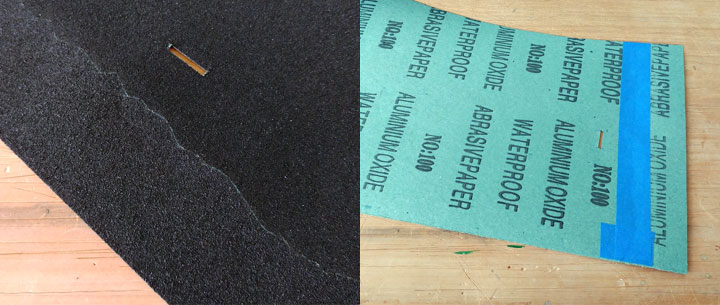
The sheets of sandpaper that I got were a little bit too small to cover the diorama with one piece so I made the join look like a crack in the road. I taped two pieces of sandpaper together with a small amount of overlap, and then cut a jagged line making sure to keep the line where the sandpaper is double up. This means that both pieces have the same edge and the two pieces line up perfectly. The crack is probably going in an unrealistic direction, but once the car is in place and the painting is done it should help to blend in the join rather than having a straight line across the road.
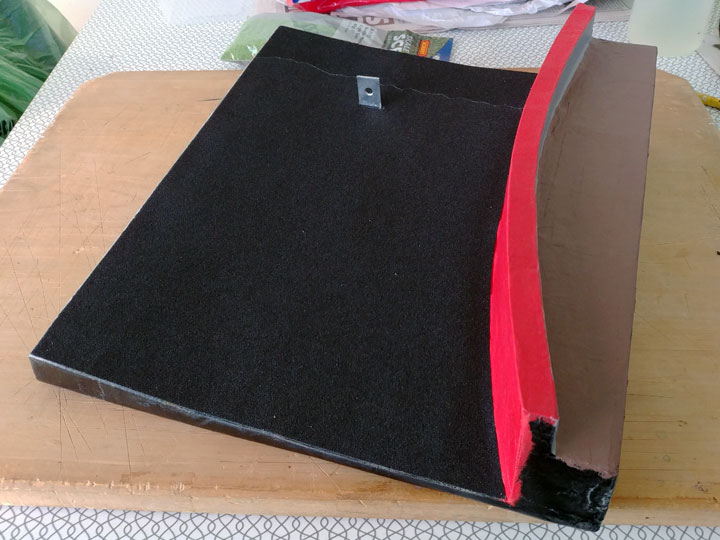
I mixed up some grey paint and watered it down to make a bit of a wash. This lightened up the colour of the road and allowed some variation in the road surface.
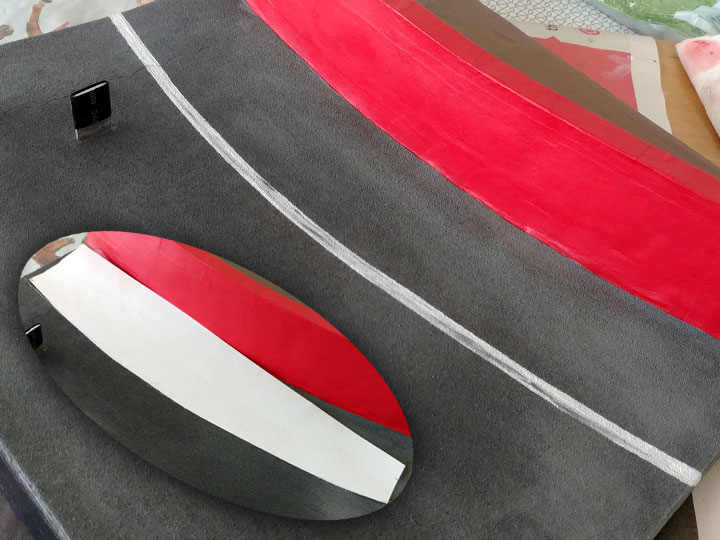
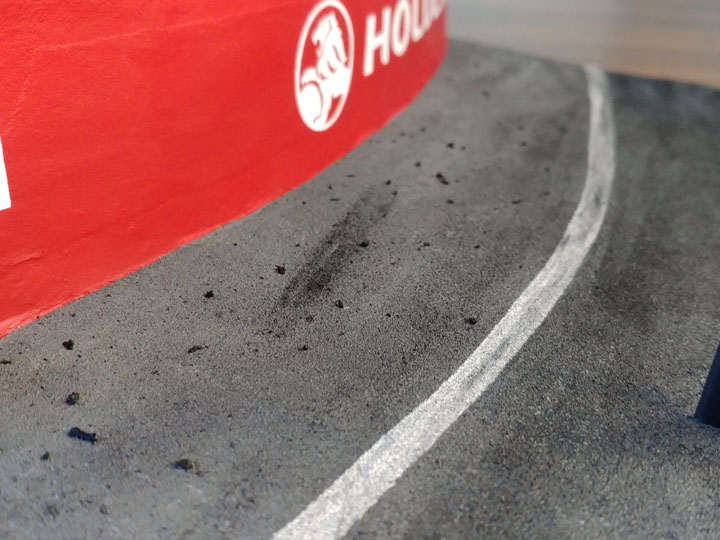
Although I had masked off the wall while I painted the wash, some of the paint still got through so I had to touch up the red on the wall. I used a white pencil to draw a guide for the line on the road. I reused my template from earlier so that the curve would match the wall. When I filled in the white line I intentionally left parts out to make it look like it had been worn away over time.
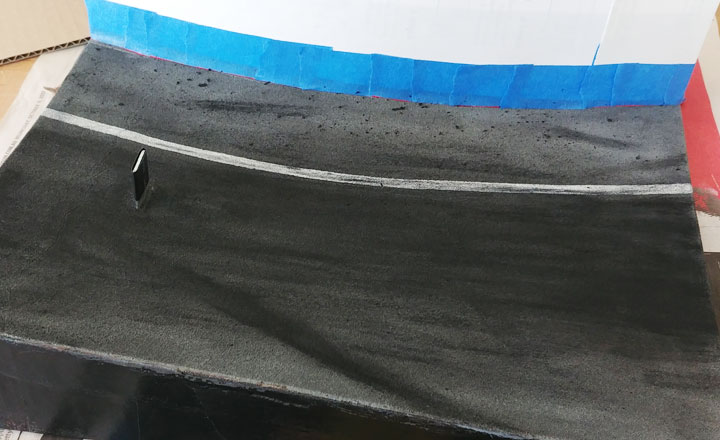
Now for the fun part! I used charcoal to draw in the skid and tyre marks to make the track look like it has seen a lot of action. I made it quite dark on and around the racing line seeing that it should get the most wear, but I included a few skid marks outside the racing line for the times when some drivers haven't taken the corner quite how they would have wanted! As the road surface was quite rough, little chunks broke off the charcoal as I was using it. I left them on the track as they looked like the bits of rubber that come off the tyres, I just brushed them off the racing line to where they would normally collect.
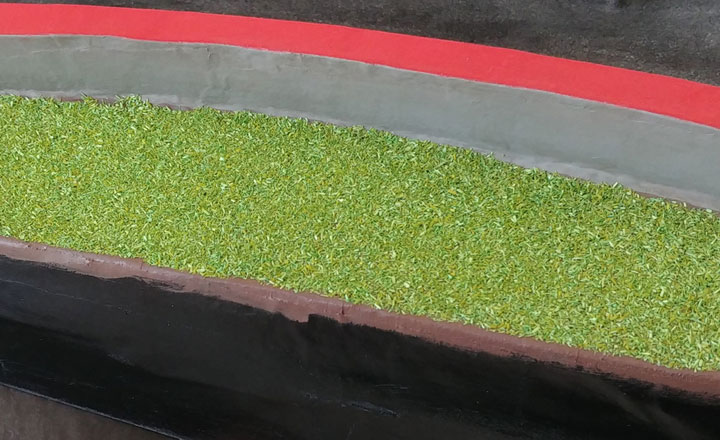
I used some model railway scatter material for the grass. I went with light green (R7172) as that looked like the most accurate colour.
Red is not the normal colour for the walls on The Dipper, but I decided to change the advertising to something a bit more related to my brothers interested and the cars that would be displayed next to it. I used my Cricut to make a mask to paint on the Holden logo.
When my brother and I visited Bathurst there were some guys repainting some of the walls and they were using a mask to hand paint the logos. So kind of the same technique, haha. This is also the reason I didn't put any scratches or weathering on the wall, I wanted it to like they had recently touched up the paint.
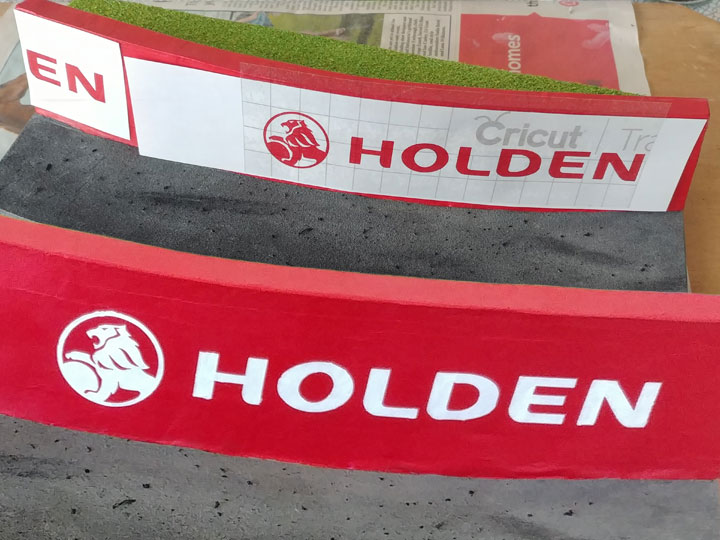
Here are some photos of the completed diorama!
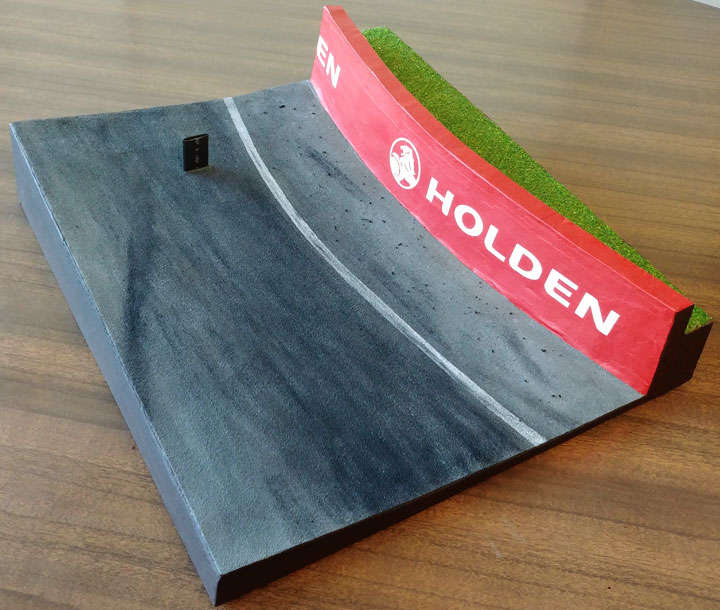
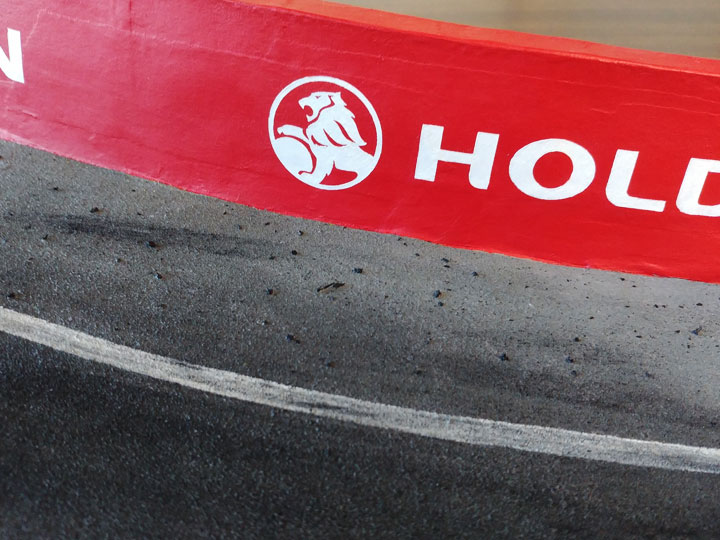
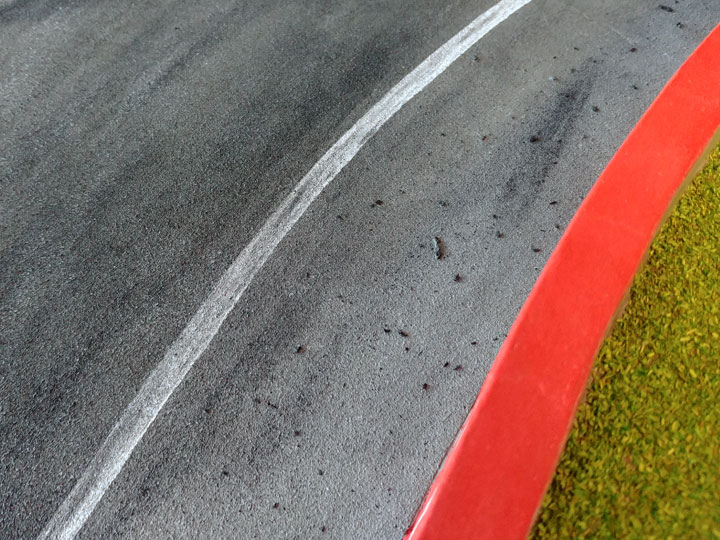
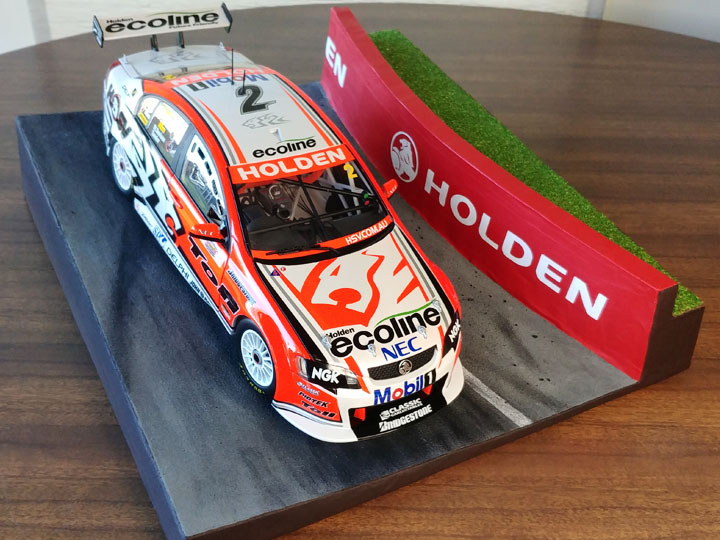
Now my brother can display one of his model V8 Supercars looking like it's in the middle of a race, while keeping it dust free! Happy Birthday Bro!
